Explore the dynamic world of internet marketing with expert tips, traffic generation tactics, lead capture strategies, affiliate marketing insights, and proven email campaigns to elevate your online business success.
As 2025 wraps up, I’ve been thinking a lot about the conversations we’ve had this year — the frustrations, the breakthroughs, the wins, the losses, and everything in between. It’s been a year of change not just for me, but for safelist marketers everywhere.
If you’ve been following along, you’ve probably noticed a pattern in the topics we’ve covered. One post after another kept circling back to the same truth:
Safelist marketing isn’t the problem.
What trips most people up is how they approach it – their expectations, their ads, and their consistency over time.
After watching this play out for years, I started wondering whether a different structure could make it easier for more people to stay consistent and get better results, without changing what makes safelists effective in the first place.
And as we look ahead to 2026, it feels like the right time to bring all of this together and talk openly about where safelist marketing is headed — and why I think the best days are still ahead of us.
– Most people don’t struggle because safelists “don’t work.” They struggle because they’ve never been shown how to build ads people want to click. – Safelists have evolved dramatically since the early 2000s, and not always for the better. But every change showed us what works and what doesn’t. – Branding matters. Your face, your story, your tone — all of it makes a difference. – Productivity matters. Working from home is great, but it only works if you stay focused and consistent. – Creativity matters. Good splash pages, good copy, and good tracking tools can completely change your results.
And maybe the biggest lesson of all:
If this industry is going to grow again, we need to start thinking about new ideas and not just refining the same approaches we’ve relied on for years.
Where Safelist Marketing Is Going Next
Safelists aren’t disappearing. They’re too useful, too flexible, and too reliable when they’re done right. But we are entering a new phase — one that demands more from all of us.
The future looks like this:
– more fairness – more balance – more predictable results – fewer wasted emails – better user experiences – real engagement instead of noise
Safelists should feel productive. They should feel rewarding. They should feel worth the time you invest in them.
And honestly, they should be enjoyable again.
That’s the direction I believe this industry is moving toward — and it’s something I’ve been working on behind the scenes for a long time.
Why Mail Tokens Are the Turning Point
The Mail Token (MT) system at My Daily Mailer wasn’t created as a “cool idea” or a way to stand out.
It started as an experiment – a way to rethink how mailers are structured while keeping the core idea intact.
So far, it’s shown promise as a more balanced way to manage activity and volume:
– One MT equals one mailing. – You earn MTs through real activity. – Supply stays predictable. – Mail volume remains manageable.
Just a clean, steady, fair system that works for beginners and experienced marketers alike.
My goal with My Daily Mailer was never to replace safelists. It was to explore a different structure that might help them thrive in a new way.
And I’m proud of how far it’s come in such a short amount of time.
What You Should Start Doing Going Into 2026
If you’re ready to make real progress in the coming year, here’s what I’d focus on:
– Build your personal brand. People click what feels real — especially now. – Rotate your ads. Even the best ad stops working if it never changes. – Track your results. Don’t guess. Know. – Start building a list if you haven’t already. This is how you turn traffic into long-term income. – Be consistent. Even small daily actions compound over time.
None of this is complicated. None of it requires magic formulas. But it works — and it works year after year.
A Personal Note as We Close Out the Year
I’ve been doing this since 2003, and I can honestly say this has been one of the most transformative years of my entire journey. Watching safelists evolve, building My Daily Mailer, reconnecting with old ideas, and pushing the boundaries of what a safelist can be — it’s been exhausting at times, but incredibly rewarding.
And I’m more excited about this industry today than I’ve been in a decade.
I believe safelist marketing still has a bright future. I believe beginners can still get meaningful results. I believe experienced marketers can still scale. And I believe we can create an environment where everyone wins — not just the people sending the most mail.
Thank you for reading my posts this year. Thank you for being part of this corner of the internet. And thank you for believing in the idea that we can make this industry better.
Because we can. And we will.
If You Want to Be Part of What’s Coming Next
If you want a safelist that finally feels balanced, predictable, and genuinely productive again, you’re invited to take a look at My Daily Mailer.
It’s live. It’s working. And it’s only getting better from here.
Here’s to the next chapter. Here’s to a stronger, smarter safelist industry. And here’s to a great year ahead.
One of the biggest challenges of working online is multitasking when working from home. With so many windows and tabs open, it’s tempting to jump between tasks constantly. And while multitasking can sometimes feel productive, I’ve learned the hard way that it can also be a massive time waster.
When Multitasking Creeps In
I try to work on one thing at a time. But when you’re waiting for a web page to load or for a verification email to arrive, it’s easy to switch over and do something else “real quick.”
For me, that usually means keeping a traffic exchange window open to surf while I wait. It feels efficient, but it can also break my focus.
And then there’s Facebook. Messenger is a tool I use every day to communicate, but every time I get a message I switch over to reply. The problem? While waiting for a response, I start scrolling. Ten minutes later, I’ve completely lost track of what I was working on. That’s the dark side of multitasking.
How I Keep Myself on Track
The tool that saves me is a simple to-do list on my desktop.
The most important tasks go at the top.
Anytime I think of something new, I add it to the list.
When it’s time to work, I start at the top and move down.
It’s not fancy, but it works.
I also structure my day into time blocks:
Morning: Open all the tabs I’ll need, check my stats, clean my inbox, and handle urgent emails. Then I move on to reading safelist emails and sending my ads.
Afternoon: Work through the to-do list. Bigger projects, writing, and creative tasks get my attention here.
By organizing my work this way, I keep multitasking under control.
My Take on Multitasking
Here’s the truth: multitasking isn’t always bad. If I’m waiting on something, I don’t mind filling the gap with a quick task. But the key is completion.
If multitasking means nothing actually gets done, it’s hurting you. If you can juggle a couple of things and still finish them, then it’s fine.
The danger is when distractions—like social media—pull you into busy work that feels like multitasking but actually kills your productivity.
Final Thoughts
Multitasking when working from home is tricky. You’re in charge of your time, and that freedom comes with responsibility. A simple to-do list, a daily routine, and a little discipline can go a long way.
My advice: Don’t fight multitasking completely. Just make sure the tasks you’re juggling are leading to progress, not procrastination.
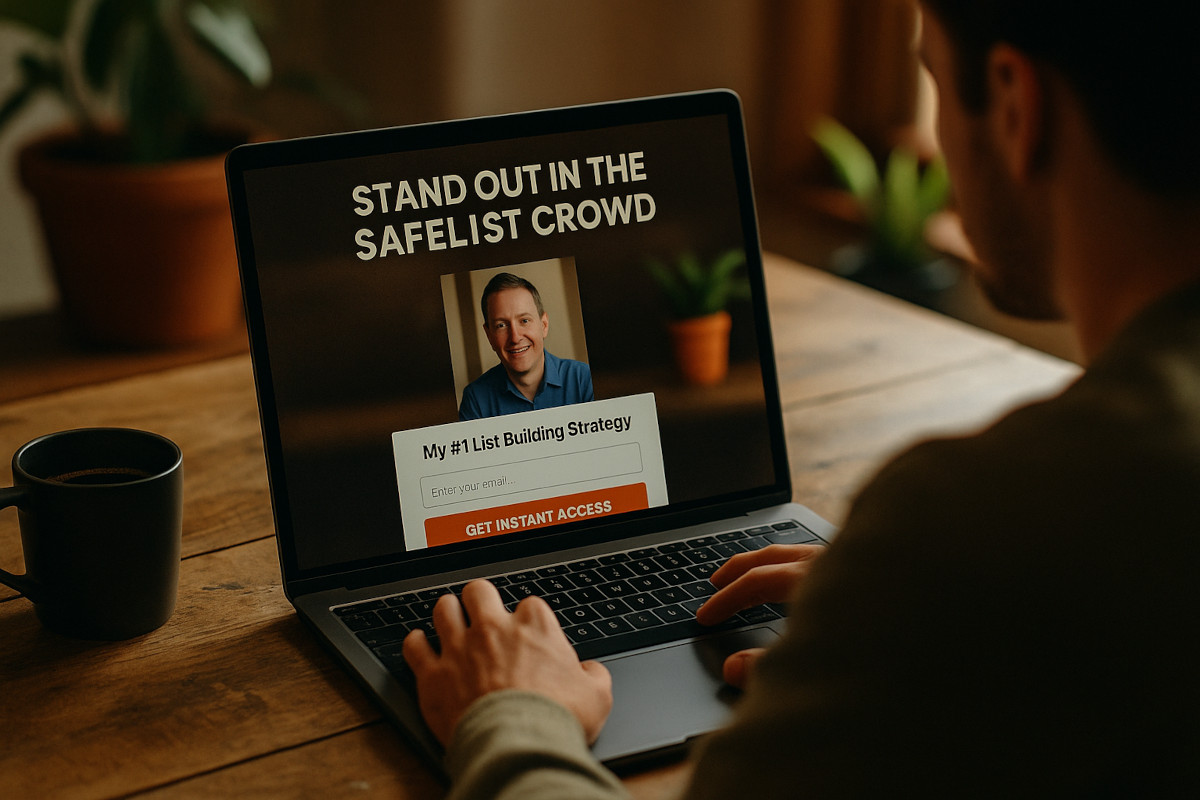
Safelists are crowded. Every day, your ad is competing with hundreds—sometimes thousands—of others for attention. Most of them look the same: stock photos, generic headlines, and the same overused copy.
If you want to stand out, you have to make your ads yours. For me, that means personal branding — putting my name and face on the page.
My First Attempt (And Why It Was Terrible)
I didn’t start out putting my photo on my ads. In fact, I only did it because people in my peer group encouraged me to. They told me it built trust.
So I took a selfie.
It was… not great.
I tried to make it look “different” by turning it black and white. Instead, it just looked bad.
Over time, I’ve had much better photos taken — and I’ve learned that it’s okay to update your image while still keeping a consistent brand. Stick with what people recognize, but don’t be afraid to upgrade when you have something better.
Why a Photo Works
People want to do business with people, not faceless ads. When they see your photo repeatedly across different safelists, something clicks. They start to feel like they know you. And if they feel like they know you, they’re more likely to like and trust you.
That trust translates into better engagement, more opt-ins, and higher conversions.
It’s also brand recognition in action. The more people see your photo on your ads, the more they remember you — even if they don’t click right away.
What to Include on a Branded Splash Page
If you’re going to brand your safelist ads, keep it simple. At minimum, I recommend:
Your photo — clear, friendly, and professional-looking if possible.
Your name — don’t hide behind “admin” or a nickname.
An opt-in form — this is where the real magic happens. Build your list so you can follow up long after they’ve left the safelist.
Everything else is optional, but these three elements create a solid foundation for a personal brand.
What If You’re Nervous About Putting Yourself Out There?
Here’s my take: If you don’t believe in what you’re promoting enough to put your face on it, maybe you shouldn’t be promoting it.
Being yourself is the easiest brand you’ll ever build. You don’t have to be perfect. You just have to be real. Stand behind what you promote — and let people see who they’re dealing with.
Final Thoughts
Safelist marketing isn’t just about sending emails and getting clicks. It’s about standing out in a crowd where almost everyone blends in.
Your photo, your name, and your unique voice are your biggest differentiators. Use them.
Getting repeat traffic is one of the best ways to grow your website and build a loyal audience. While attracting new visitors is important, keeping them coming back is even more valuable for sustained success. In this guide, we’ll share 9 updated strategies to help you generate repeat traffic to your site.
1. Deliver Valuable Content
High-quality content is the foundation of repeat traffic. Focus on creating articles, guides, or resources that solve problems or entertain your audience.
Email marketing is one of the most effective ways to keep your audience engaged. Send regular updates, newsletters, or exclusive offers to your subscribers.
Make it easy for visitors to share your content on social media platforms. Add social sharing buttons to your site and create shareable headlines that encourage clicks.
4. Optimize for User Experience (UX)
A seamless user experience encourages visitors to return. Ensure your site:
Loads quickly.
Is mobile-friendly.
Has intuitive navigation.
5. Leverage Safelist and Traffic Exchange Strategies
Drive traffic through safelists and traffic exchanges while offering value that keeps visitors coming back. Promote engaging content or lead magnets that encourage repeat visits.
Give visitors a reason to return by offering exclusive resources, such as members-only content or gated downloads. Loyalty programs and free memberships can boost engagement and return visits.
7. Personalize Your Content
Use tools and analytics to understand your audience’s preferences and tailor your content to their interests. Personalized emails, recommended articles, and dynamic website elements can enhance user engagement.
8. Engage Through Comments and Community
Encourage your readers to interact with your content by enabling comments or creating a forum. Responding to their questions and feedback builds trust and loyalty.
9. Monitor and Adjust Your Strategies
Use tools like Google Analytics to track returning visitors and identify what keeps them coming back. Experiment with different strategies, such as content types, posting schedules, or promotional tactics, to see what works best.
Final Thoughts
Repeat traffic is essential for long-term website growth, but it requires a strategic approach. By delivering value, engaging your audience, and staying consistent, you can build a loyal following that keeps coming back for more.